
Contact Info
Stone Industry, Shitou Village, Meiyun Street, Jieyang, Guangdong, China
Stone Industry, Shitou Village, Meiyun Street, Jieyang, Guangdong, China
Whether you’re deep-cleaning your kitchen cabinets or replacing a worn-out drawer, knowing how to remove and reset slide-rail drawers is a handy skill—no tools required! Here’s a simple, step-by-step guide that works for most standard drawer slides (including ball-bearing and three-section rails):
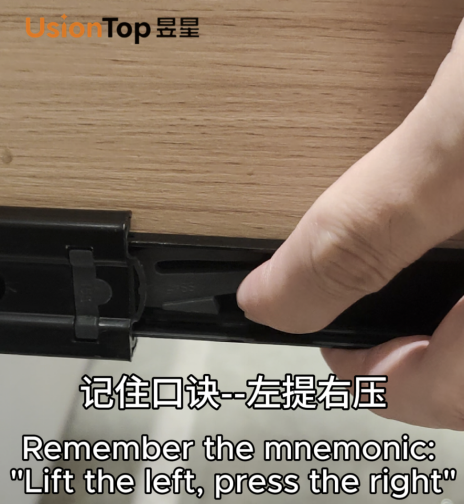
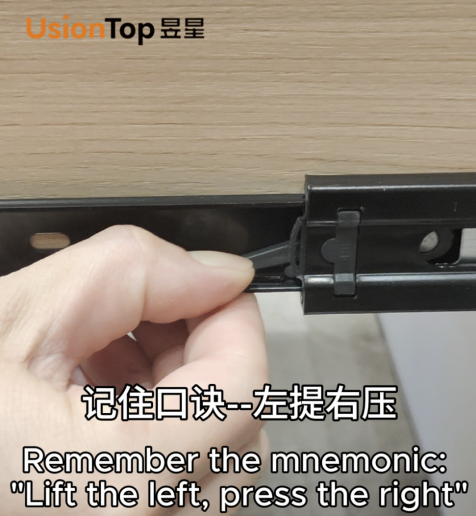
Step 1: Remove the Drawer (The "Lift Left, Press Right" Trick)
When taking the drawer out, remember this easy mnemonic: “Lift the left, press the right” .
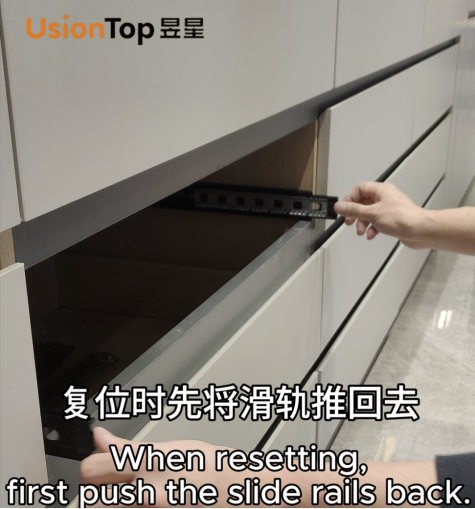
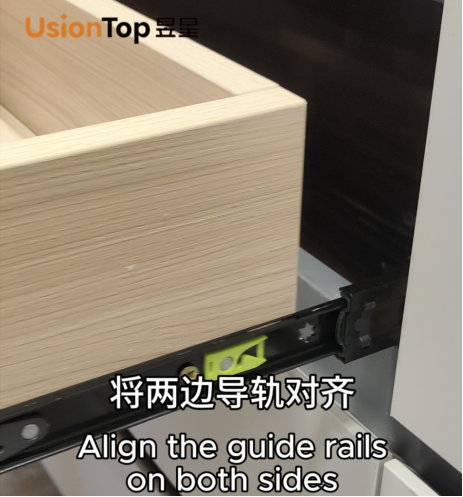
Step 2: Reset the Drawer (Quick Alignment & Reinstallation)
Putting the drawer back is just as straightforward:
This method works for most household drawers (kitchen, bedroom, office) across regions—its simplicity makes it accessible for beginners, and the mnemonic ensures you won’t mix up the steps!

Be the first to get our latest styles and offers.
Stone Industry, Shitou Village, Meiyun Street, Jieyang, Guangdong, China
Copyright © Guangdong Yuxing Industrial Co.,Ltd. All Rights Reserved - Privacy Policy - Blog